.jpg)
Make sure your fermenter is clean and empty: Ensure that your fermenter is empty and has been thoroughly cleaned before starting the pressure test.
Install a pressure relief valve: Install a pressure relief valve on the fermenter to prevent over-pressurization during the test.
Connect the pressure gauge: Connect the pressure gauge to the fermenter using a sanitary tri-clamp fitting.
Pressurize the fermenter: Use an air compressor or a CO2 tank to pressurize the fermenter slowly. Gradually increase the pressure until it reaches the desired level, typically around 15 psi (pounds per square inch).
Monitor the pressure: Monitor the pressure gauge for several hours to ensure that the pressure remains constant. If the pressure drops, there may be a leak in the fermenter.
Check for leaks: Apply a soapy solution to the fittings and connections on the fermenter and look for bubbles. Any bubbling indicates a leak that needs to be addressed.
Release the pressure: Once you are satisfied that the fermenter is airtight, release the pressure using the pressure relief valve.
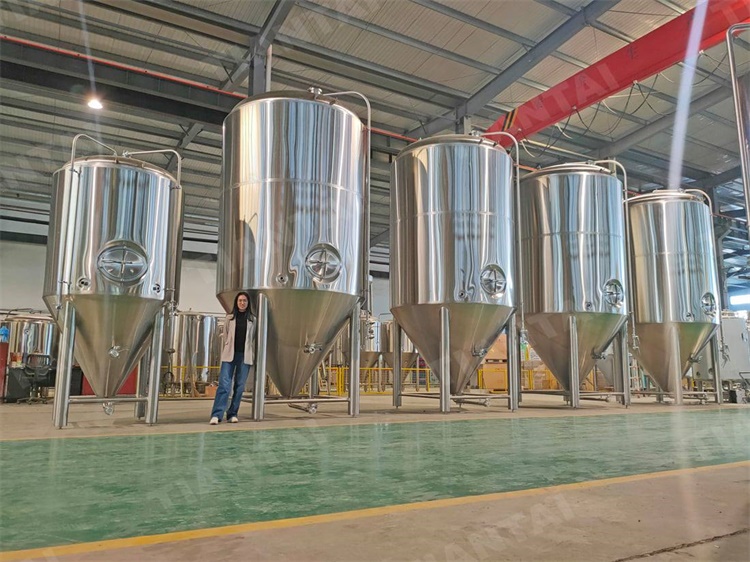
It is crucial to conduct a pressure test before every use of your fermenter to prevent any issues during the fermentation process. Additionally, ensure that you follow all relevant safety guidelines when conducting a pressure test, such as wearing eye protection and working in a well-ventilated area. Tiantai beer equipment company have strict requirement on the production process.
Helen lee
[email protected]


.jpg)


Get In Touch